Dell 944 All In One Inkjet Printer User Manual Page 34
- Page / 62
- Table of contents
- TROUBLESHOOTING
- BOOKMARKS
- Notes, Notices, and Cautions 1
- About Your Printer 2
- Setting Up Your Printer 3
- Using the Operator Panel 3
- Operator Panel Menus 4
- Scan Mode 6
- Loading Paper 7
- Appendix 10
- Copying 12
- ¡ Choose a copy quality 13
- Changing Copy Settings 15
- Faxing 16
- Faxing Electronic Documents 18
- Finding Information 20
- GNU License 21
- Preamble 23
- NO WARRANTY 26
- Licensing Notice 28
- Ink Cartridge Maintenance 29
- Aligning Ink Cartridges 30
- Printing 33
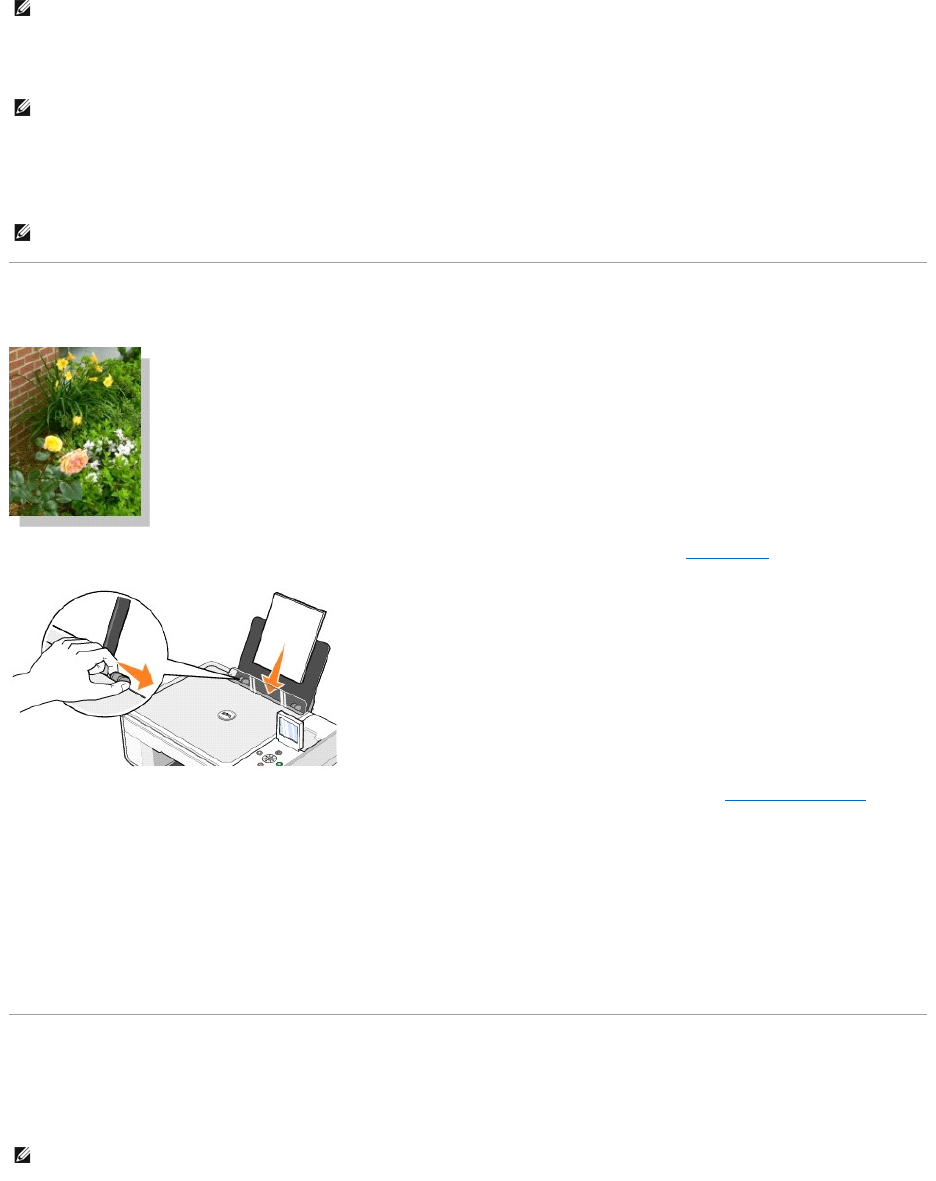
- Printing Borderless Photos 34
- Printing Envelopes 34
- Viewing or Printing Photos 36
- Viewing a Slide Show 37
- Regulatory Notices 39
- FCC Notices (U.S. Only) 40
- IC Notice (Canada Only) 40
- CE Notice (European Union) 41
- VCCI Notice (Japan Only) 41
- Class A ITE 42
- Class B ITE 42
- Class A Device 42
- Class B Device 43
- BSMI Notice (Taiwan Only) 44
- ENERGY STAR®Compliance 45
- Mercury Statement 45
- Scanning 46
- ¡ Select the scan quality 47
- Understanding the Software 51
- Using Printing Preferences 52
- Using Dell Picture Studio 53
- Using Memory Card Manager 53
- Dell Ink Management System 54
- Specifications 56
- Operating System Support 57
- Print Media Guidelines 57
- Troubleshooting 59
- General Problems 60
- Error Messages and Lights 61
- Improving Print Quality 62
Related products and manuals for Printers Dell 944 All In One Inkjet Printer
 (45 pages)
 (12 pages)
© 2020, manymanuals.com. All rights reserved. | 2.301 s |
 Manymanuals.com
 Manymanuals.de
 Manymanuals.fr
 Manymanuals.it
 Manymanuals.pl
 Manymanuals.cz
 Manymanuals.es
 Manymanuals-pt.com
Comments to this Manuals